Dig into winter
There is no need for winter blues with so much life in the garden this month. With the right plants and products, you can grow food and blooms to your heart’s (and dinner plate’s) content. Let’s dig in and make the cold a little more colourful and crunchy with pre-spring seed sowing, germination hacks, and superstar seedlings!
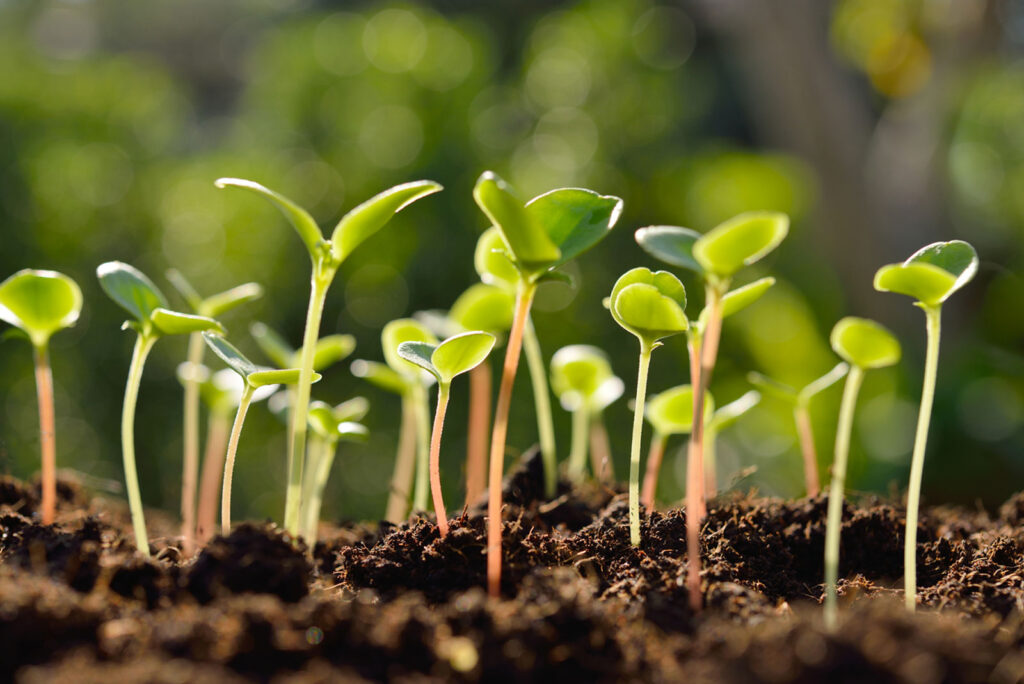
Know your lingo
Before we get elbow deep in dirt, it is important to know the difference between sowing, germination, and seedlings. Sowing is planting a seed from a seed packet, while germination is the process of that seed developing. A seedling is a baby plant that has already been sown and successfully germinated.
Spring seed sowing
What you choose to sow now will have germinated into young seedlings for springtime. We recommend that you begin the seed germination process indoors and then transplant the young seedlings into beds or larger containers later once the weather is warmer and frost has passed. Sowing according to your region is another important factor in ensuring the success of your seeds.
Gauteng: Edibles such as peas and potatoes, as well as pansy, viola, and primula flowers.
KwaZulu Natal: Edibles such as radish and turnips, as well as cineraria and Iceland poppy flowers.
Western Cape: Edibles such as beetroot and tomatoes, as well as alyssum and cleome salvia flowers.
Top compost tip: Keep your tea bags, grounded coffee beans, and eggshells to use as DIY compost for all your winter plants.
A germination station
There’s nothing worse than sowing a seed that never makes it to meet the sun. Avoid the disappointment and begin an indoor germination station! This is a highly rewarding and educational activity for the whole family to become part of. We recommended starting off near a sunny window or on the patio or balcony, just remember to bring your babies in at night and move them away from any glass that can get rather icy at sundown. Here are some more germination hacks:
- Soil: Use standard seedling trays filled with a specially formulated germination mix, designed to trap and hold moisture and nutrients for all new seeds. This mix is usually a combination of compost, coco-peat, vermiculite, perlite, kraal manure, and other essential goodies.
- Sprinkle: You can use shallow rectangular containers filled with germination mix for those really tiny seeds. Premix your seeds with a little bit of the soil and then sprinkle and scatter the seed-soil mix around the container.
- Moisture: For larger seeds, begin germination inside a moist cottonwool sandwich. This method is an old favourite for kids as they can lift up the cottonwool and enjoy sneak peeks of the seed’s progress. After a few days, the seed will be ready to be moved to a seedling tray.
Did you know? Some seeds like green peas can be easily sprouted by soaking them in water for a few hours. Once they start looking like cute little tadpoles, you can simply transfer them to prepared seedling treys for further growth.
In the seedling hot seat
Your local nursery is fully stocked with cool-season seedlings that you can grow at home. Consider your lifestyle and determine whether beds or containers would suit you best. Larger edibles are best for the ground, while smaller veggies and herbs work well in containers on the stoep where kids can easily get involved. Seasonal flowers add a bang of colour to barren borders and beds, especially when planted in between winter-dormant plants. Always remember to check the sun requirements of your new seedlings to help you decide where to plant them.
Edibles: Asparagus, cauliflower, cabbage, tomatoes, peas, chillies, and eggplant.
Colour: Verbena, alyssum, geraniums, larkspur, petunias, and dianthus.
Fast growers: Peas and calendulas.
Grow-on gloriously
Maximize your harvest and get the brightest show from your flowers by using the correct soil mixes and fertilisers. Ask for help from knowledgeable staff members at your local nursery who will be able to recommend the best products for your chosen plants. Once you have purchased a few seedling trays (with the necessary soil mix and food), follow these tips for successful growing.
The difference of good dirt: You can either transplant seedlings directly into prepared beds and containers, or into halfway house containers for replanting later, depending on what type of plants they are (edibles or decoration) and where their final growing place will be. In general, the prepared soil environment should be nice and loose with a combination of potting soil, compost, and a slow-release fertiliser worked in.
Feeding is fabulous: Plants need to be fed during their growing season, during which they absorb the most amount of nutrients from the soil. Edible and flower specific fertilisers are available at your garden centres. Read the packaging of your chosen plant feed to determine how much to use and how often to apply.
Top tip: Transplant all new seedlings around mid-morning and water well. This will allow plants to utilise the water while they are most active during the day, while also reducing the chance of frostbite.
Sorry, the comment form is closed at this time.